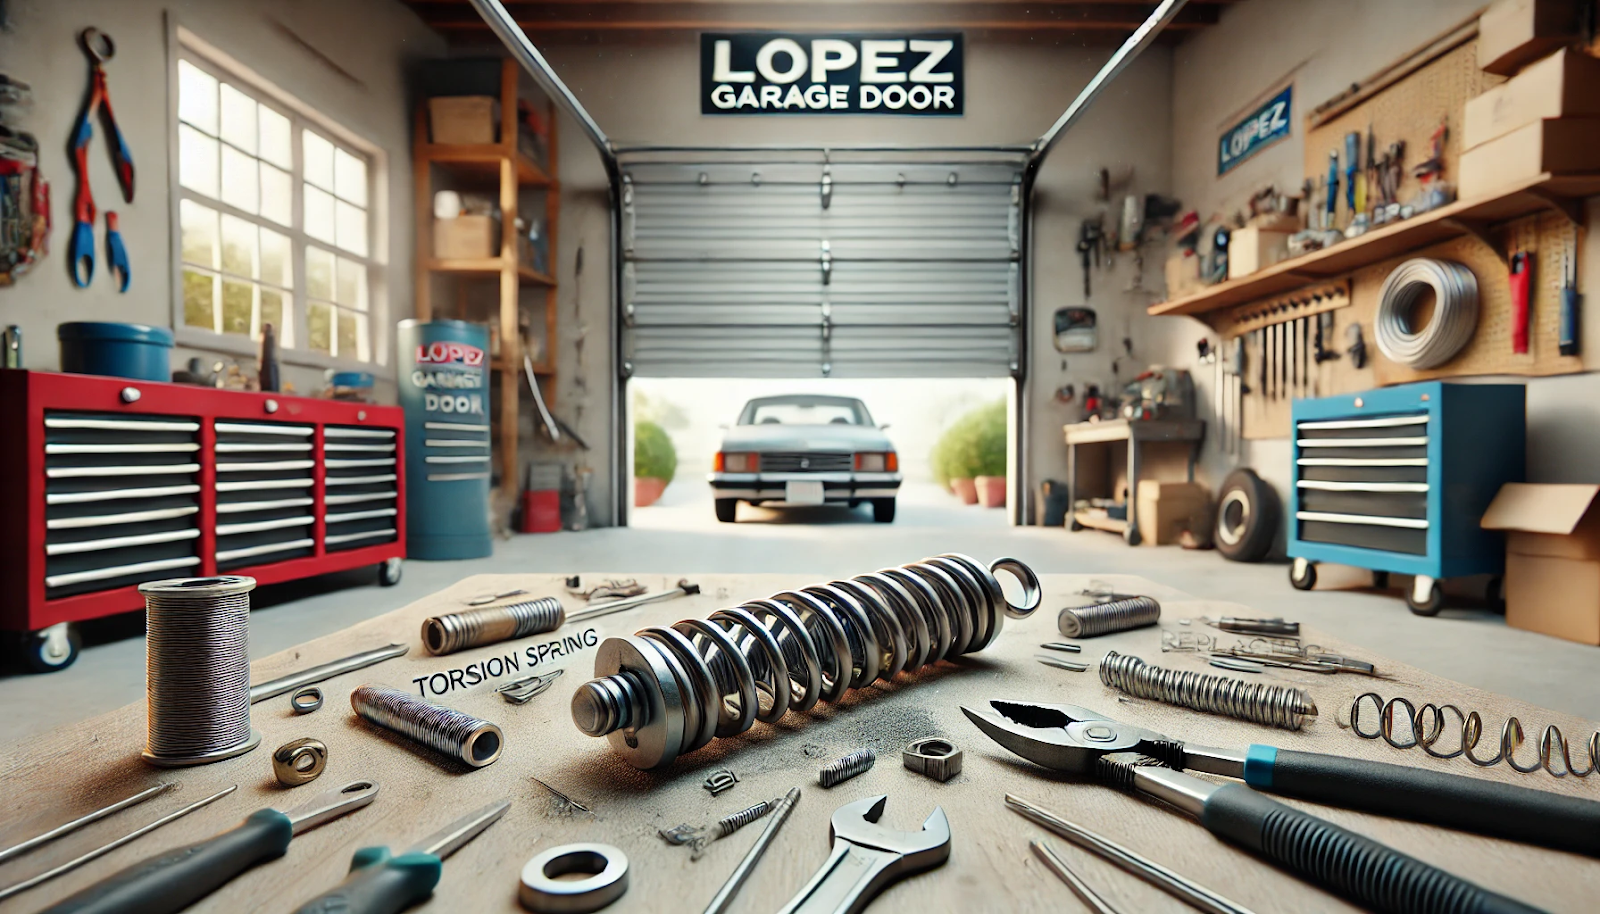
Replacing a garage door torsion spring can be a challenging yet rewarding DIY task. Imagine your garage door making strange noises or refusing to open on a rainy morning when you’re already late for work. Tackling the problem yourself saves money and gives a sense of accomplishment.
In this guide, we will delve into the mechanics of torsion springs, helping you understand how they work and when they need replacement. You’ll learn to recognize the signs that indicate it’s time to replace the springs, ensuring your garage door operates smoothly and safely.
We’ll provide step-by-step instructions, emphasizing the importance of following safety protocols to prevent injuries. With the right tools and a little patience, you’ll be able to replace your garage door torsion spring confidently and efficiently. Get ready to take on this home improvement project and keep your garage door functioning perfectly.
Understanding Torsion Springs
What are Torsion Springs?
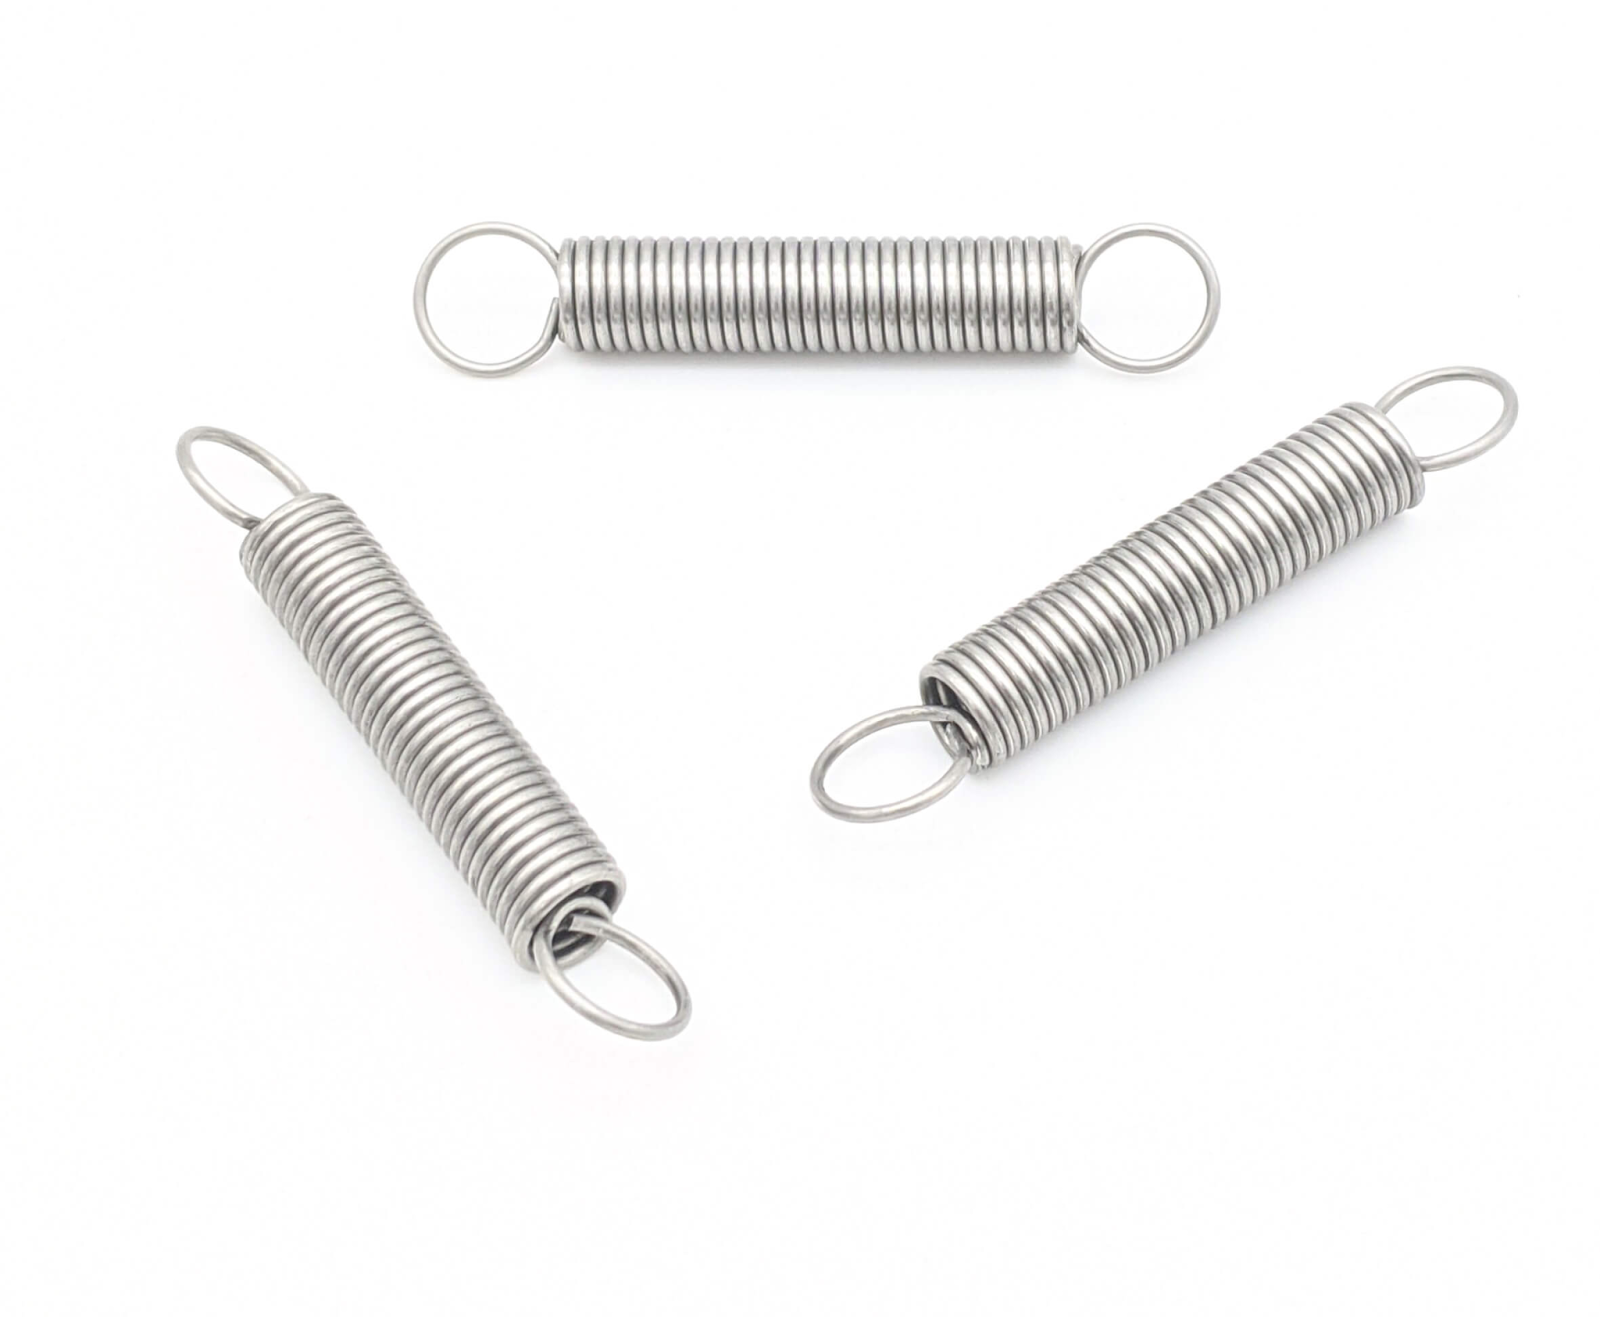
Torsion springs play a key role in a garage door system. These tightly coiled springs store mechanical energy when twisted. As the door opens, the springs unwind, releasing this energy to help lift the door. For your garage door to operate smoothly, it is essential that the torsion springs function correctly.
Types of Torsion Springs
Torsion springs come in various types, including standard, early set, and torque master torsion springs. Each type has unique characteristics and installation requirements, so knowing which type your garage door uses is essential.
Signs Your Garage Door Springs Need Replacement
Visual Indicators
- Rust and Corrosion: Torsion springs can rust over time, weakening their structural integrity. Rust can spread across the springs, leading to potential breakage. Regular inspections can help catch rust early and prevent further damage.
- Gaps in the Coils: If you notice gaps between the coils when the spring is relaxed, it’s a clear sign of a broken or worn-out spring. These gaps can cause the spring to lose tension, affecting the garage door’s ability to open and close properly.
Garage Performance Issues
- Difficulty Opening the Door: The springs might fail if your garage door struggles to open or moves unevenly. This issue often indicates that the springs no longer provide the necessary tension to lift the door.
- Loud Noises: Unusual creaking or popping sounds when operating the door can indicate spring issues. These noises often indicate that the springs are under too much strain or are beginning to fail.
Additional Considerations
- Visible Wear and Tear: Regularly check the springs for visible wear and tear. Cracks or elongated coils are clear indicators that they need replacement.
- Safety Concerns: Faulty springs can pose significant safety hazards. If a spring snaps, the garage door can suddenly fall, risking injury or property damage.
Safety Considerations for DIY Garage Spring Replacement
Importance of Safety
- High Tension: Replacing garage door springs can be extremely dangerous if not done correctly. Torsion springs are under high tension and can cause severe injuries if handled incorrectly. The tension in these springs allows the garage door to open and close smoothly but also makes them potentially hazardous. Mishandling can result in the spring snapping, leading to severe injury or death.
- Professional Assistance: While DIY projects can be rewarding, garage door spring replacement is one task for which professional assistance is highly recommended. Professionals have the training and tools necessary to handle the high tension in the springs safely.
Protective Gear
- Safety Glasses: Protect your eyes from flying debris. Small parts or pieces of the spring can become airborne during the replacement process. Safety glasses can prevent these from causing eye injuries.
- Gloves: Wear sturdy gloves to prevent cuts and abrasions. Springs can have sharp edges, and handling them without gloves can lead to cuts. Additionally, gloves provide a better grip, reducing the risk of slipping and accidental injury.
- Clothing: Wear fitted clothing to avoid getting caught in moving parts. Loose clothing can easily become entangled in the garage door mechanism, leading to potential injury. It’s important to wear snug-fitting clothes to minimize this risk.
How To Replace Torsion Springs on a Garage Door
Tools and Equipment Needed
- Winding Bars: Essential for adjusting the tension on the springs. These specialized bars allow safe manipulation of the high-tension springs, preventing dangerous mishandling.
- Wrenches and Sockets: Necessary for removing and tightening bolts. Ensure you have a set matching the bolts’ sizes on your garage door mechanism.
- Clamps: To hold the garage door in place during replacement, preventing unexpected movement and ensuring safety.
- Safety Gear: Includes safety glasses, gloves, and fitted clothing to protect against flying debris, cuts, and abrasions.
Measure and Buy New Springs
Accurately measure the existing springs before purchasing replacements. Measure the length of the relaxed spring, the wire diameter (using calipers or a micrometer), and the inside diameter. Use these precise measurements to buy the correct springs, ensuring they match the old ones for proper function and safety.
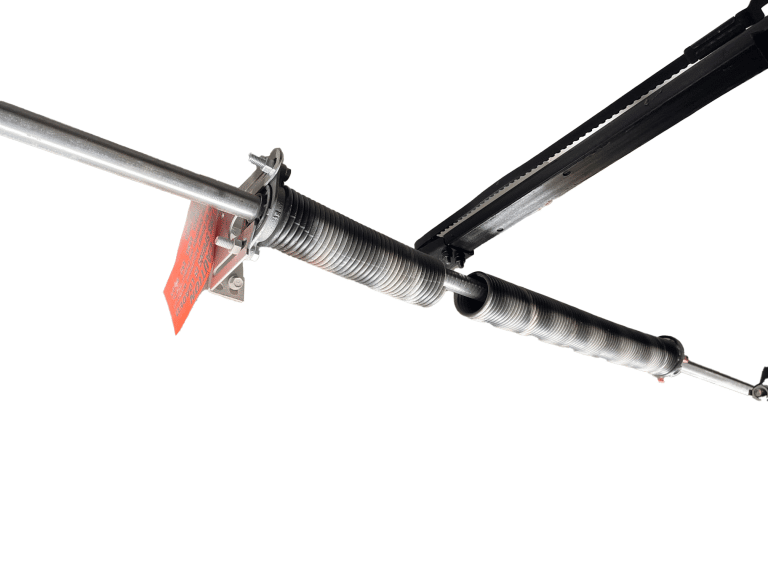
Installing New Torsion Springs
- Remove the Old Springs:
- Ensure the garage door is down and securely clamped.
- Carefully unwind the tension from the old springs using winding bars.
- Remove the bolts holding the spring in place with wrenches and sockets, then detach the spring from the center bracket.
- Ensure the garage door is down and securely clamped.
- Install New Springs:
- Position the new spring on the center bracket, ensuring proper alignment.
- Secure the spring with bolts using wrenches and sockets, and make sure it is tightly fastened.
- Position the new spring on the center bracket, ensuring proper alignment.
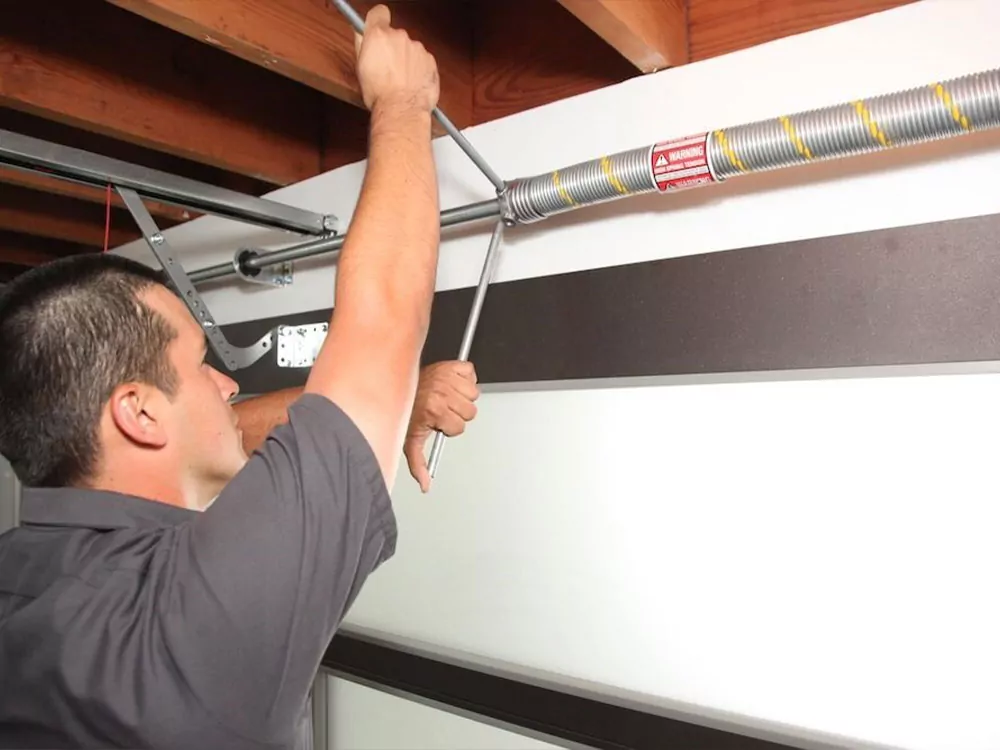
- Adjust the Tension:
- Use winding bars to apply the correct tension to the new springs, following the manufacturer’s specified number of turns.
- Open and close the door to test its balance. Adjust the tension as needed to ensure smooth operation.
- Use winding bars to apply the correct tension to the new springs, following the manufacturer’s specified number of turns.
Final Safety Checks
Inspect all bolts, brackets, and springs to confirm they are securely fastened and properly aligned. Open and close the garage door several times to ensure it moves smoothly without unusual noises, indicating the springs are correctly tensioned, and the door is balanced. If the door does not operate correctly, adjust the spring tension finely. Always prioritize safety and consider hiring a professional if unsure about the process.
Troubleshooting Common Issues After Garage Spring Replacement
Garage Door Balance Problems
If the door is not balanced, it may not open or close properly. Adjust the tension on the springs to achieve a balanced door.
Spring Tension Adjustments
If the door is difficult to operate, you might need to adjust the spring tension. Ensure the springs are tight enough for optimal performance.
When To Call a Professional for Your Garage
Complex Installation Scenarios
If your garage door system is particularly complex or if you encounter difficulties during the replacement process, it’s best to call a professional.
Safety Concerns
If you’re unsure about handling the springs safely, hiring a professional can prevent accidents and ensure the job is done correctly.
Maintenance Tips To Extend Garage Spring Life
Routine Garage Inspections
Check your garage door system frequently for any signs of wear and tear. Catching problems early can help you avoid expensive repairs.
Lubrication and Cleaning Garage Springs
Keep the springs clean and lubricated to reduce friction and prevent rust, extending their lifespan.
Garage Door Spring Replacement Cost
DIY vs. Professional Costs
DIY garage door repair can save money but requires time, effort, and the right tools. Professional replacement costs more but offers convenience and peace of mind.
Factors Affecting Replacement Expenses
The type of springs, the complexity of the job, and your location can all affect the replacement cost. Always get a detailed estimate before proceeding.
FAQs on How to Replace a Garage Door Torsion Spring
Can I replace a torsion spring myself?
Due to the high tension in torsion springs, replacing one yourself can be dangerous. It’s recommended that you hire a professional to ensure safety and proper installation. If you decide to do it yourself, ensure you have the right tools and follow all safety precautions.
How long does it take to replace a torsion spring on a garage door?
Replacing a torsion spring typically takes a professional about 1-2 hours. It may take longer if you’re doing it yourself and are unfamiliar with the process. It’s crucial to follow detailed instructions and take your time to avoid any mistakes or injuries.
How do you install spring torsion?
To install a torsion spring, first remove the old spring, then secure the new spring to the center bracket. Next, attach the winding bars and wind the spring according to the manufacturer’s specifications. Finally, tighten the set screws and check the door’s balance. Detailed instructions and caution are essential for a successful installation.
How do I know what torsion spring I need for my garage door?
To determine the right torsion spring for your garage door, measure the old spring’s length, inside diameter, and wire size. Additionally, note the direction of the wind, either left or right. If you need more clarification, consult your garage door manufacturer or a professional to ensure you get the correct spring.
How do you know if your garage door torsion spring is bad?
Signs of a bad torsion spring include a garage door that won’t open, opens unevenly, or makes loud noises. You might also notice a visible gap in the spring. If you suspect a broken spring, avoid using the door and contact a professional for inspection and repair.
Conclusion
With the right knowledge and tools, replacing garage door torsion springs is a manageable DIY task. Understanding the signs of spring failure, such as rust, gaps, and performance issues, is crucial. By following strict safety protocols, such as wearing protective gear using proper tools, and performing regular maintenance checks, you can ensure your new garage door operates smoothly and safely. However, it is important to recognize the limits of your skills. If the task becomes too complex or if you feel unsure at any point, do not hesitate to call a professional. Prioritizing safety and expertise will always be the best approach.
End Note
We hope this guide on replacing a garage door torsion spring has been insightful and helpful. For those embarking on this DIY journey, remember that while this task can be rewarding, it also comes with significant safety considerations. Whether you need additional help or want to ensure the job is done with expert precision, Lopez Garage Door is here to assist.
Explore their wide range of quality services tailored to meet your needs by visiting Our Quality Services. For specific solutions related to garage doors in Katy, TX, check out their dedicated page Garage Doors Katy, TX. Learn more about the company’s background and commitment to excellence by visiting About Us.
If you have any questions or require professional assistance, please reach out via our Contact Us page. For more tips, insights, and updates, make sure to read our informative Blogs. Finally, for inspiration and to see our work in action, browse through our Gallery page.
Trust Lopez Garage Door Services for all your garage door needs, always ensuring safety, reliability, and top-notch service.