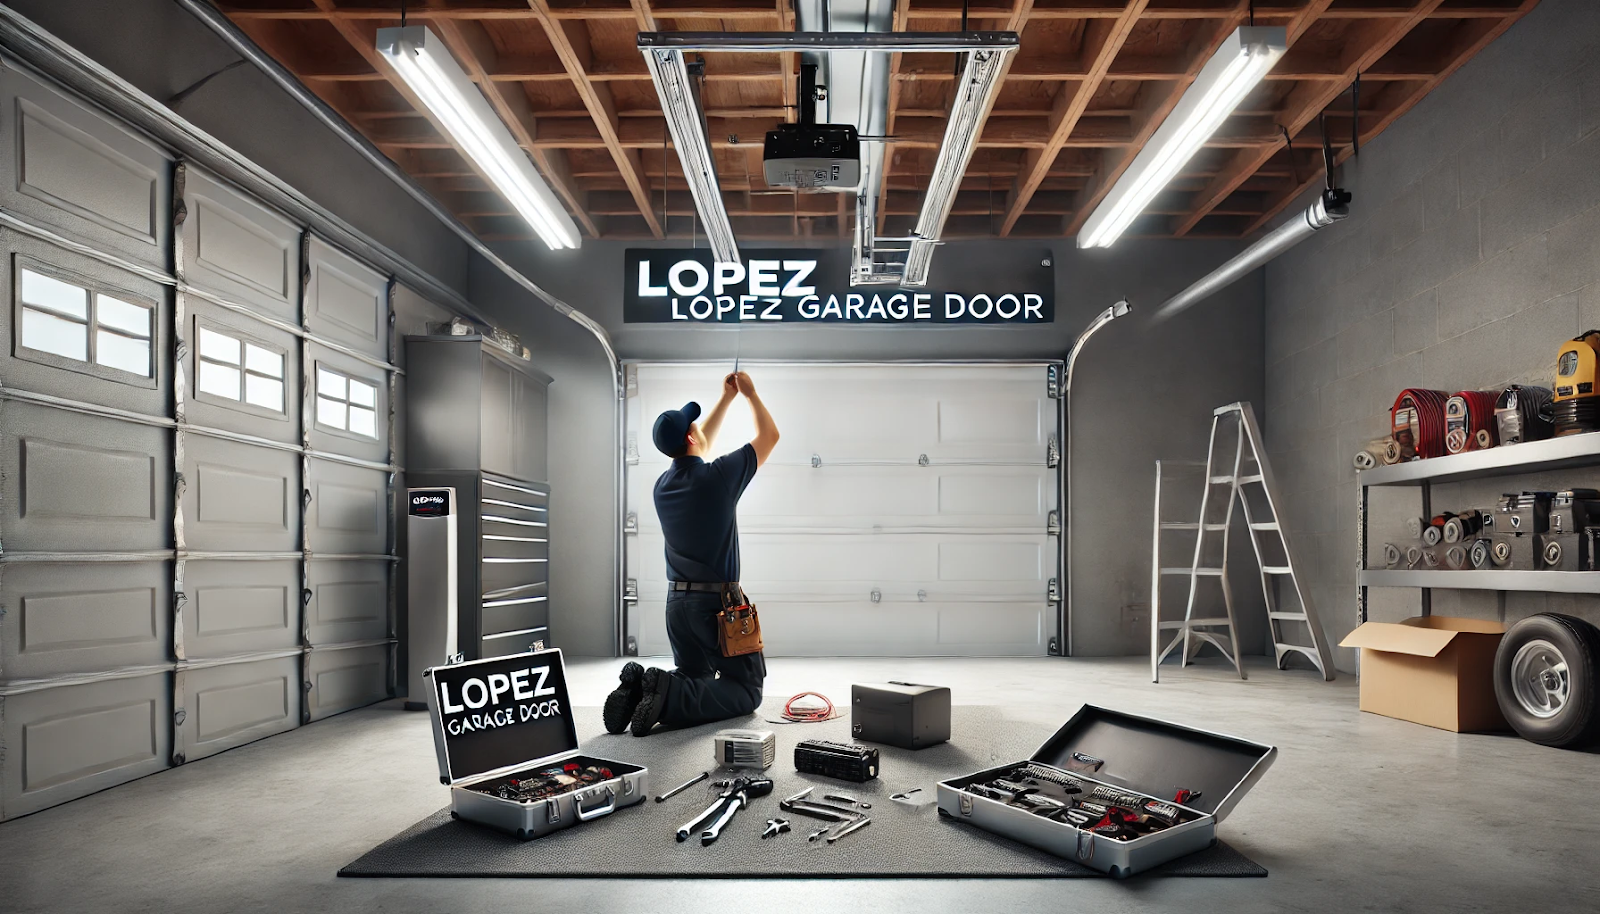
Picture coming home on a rainy day, eager to get inside and dry off, only to struggle with a manual garage door. Installing an automatic garage door opener can transform these moments, making your home more convenient and accessible. Many homeowners are embracing the ease and efficiency of automated systems, making this upgrade a luxury and practical necessity.
It’s essential to gather all the necessary tools and materials before you kick off the installation. Having everything from wrenches to safety goggles on hand will help streamline the process. The installation involves mounting the main unit, connecting the drive mechanism, and ensuring all electrical components are correctly aligned and secured. By carefully following each step, you’ll prevent common mistakes and ensure your new opener functions smoothly.
Whether you’re upgrading from an older model or setting up a brand-new system, patience and precision are key. As you follow this guide, remember that reading the instructions and double-checking your work will pay off in the long run. With these tips and a bit of persistence, you’ll soon enjoy the convenience of opening your garage door with the push of a button.
Understanding the Basics: What You Need Before You Start
Before starting the installation process, it’s important to gather all the necessary tools and understand the basic components of a garage door opener. These include the drive type, the motor, and the rail segments.
Tools and Materials Needed
- Screwdrivers
- Adjustable wrench
- Level
- Drill and drill bits
- Ladder
- Garage door opener kit
- Safety glasses
Key Components
- Drive system (chain, belt, or screw)
- Motor unit
- Rail and trolley
- Safety sensors
- Remote controls
Step-by-Step Guide to Installing Your Garage Door Opener
Once you have gathered all your tools and materials, you can begin the process of installing your garage door opener. Follow these steps to ensure a successful installation.
Step 1: Assemble the Opener
Correctly assembling the garage door opener is essential for it to work properly. Make sure to take your time to set everything up accurately.
- Lay Out the Pieces: Unpack your garage door opener kit and organize all components. Check that everything listed in the instruction manual is present. Familiarize yourself with each part, such as the rail segments, trolley, motor unit, and drive system (chain, belt, or screw).
- Connect the Rail: Align and secure the rail segments together using the provided screws and bolts. Ensure they are tightly connected to prevent any wobbling during operation. Attach the rail assembly to the motor unit, ensuring the rail’s end fits into the designated slot on the motor housing.
- Install the Trolley: Position the trolley on the rail, which will allow it to move back and forth to open and close the door. Attach the drive belt or chain around both the trolley and the motor sprocket, making sure it is tight. Use the adjustment screws to tighten the tension and avoid any slack.
Step 2: Install the Opener
Positioning the motor unit correctly is essential for balanced operation and long-term reliability.
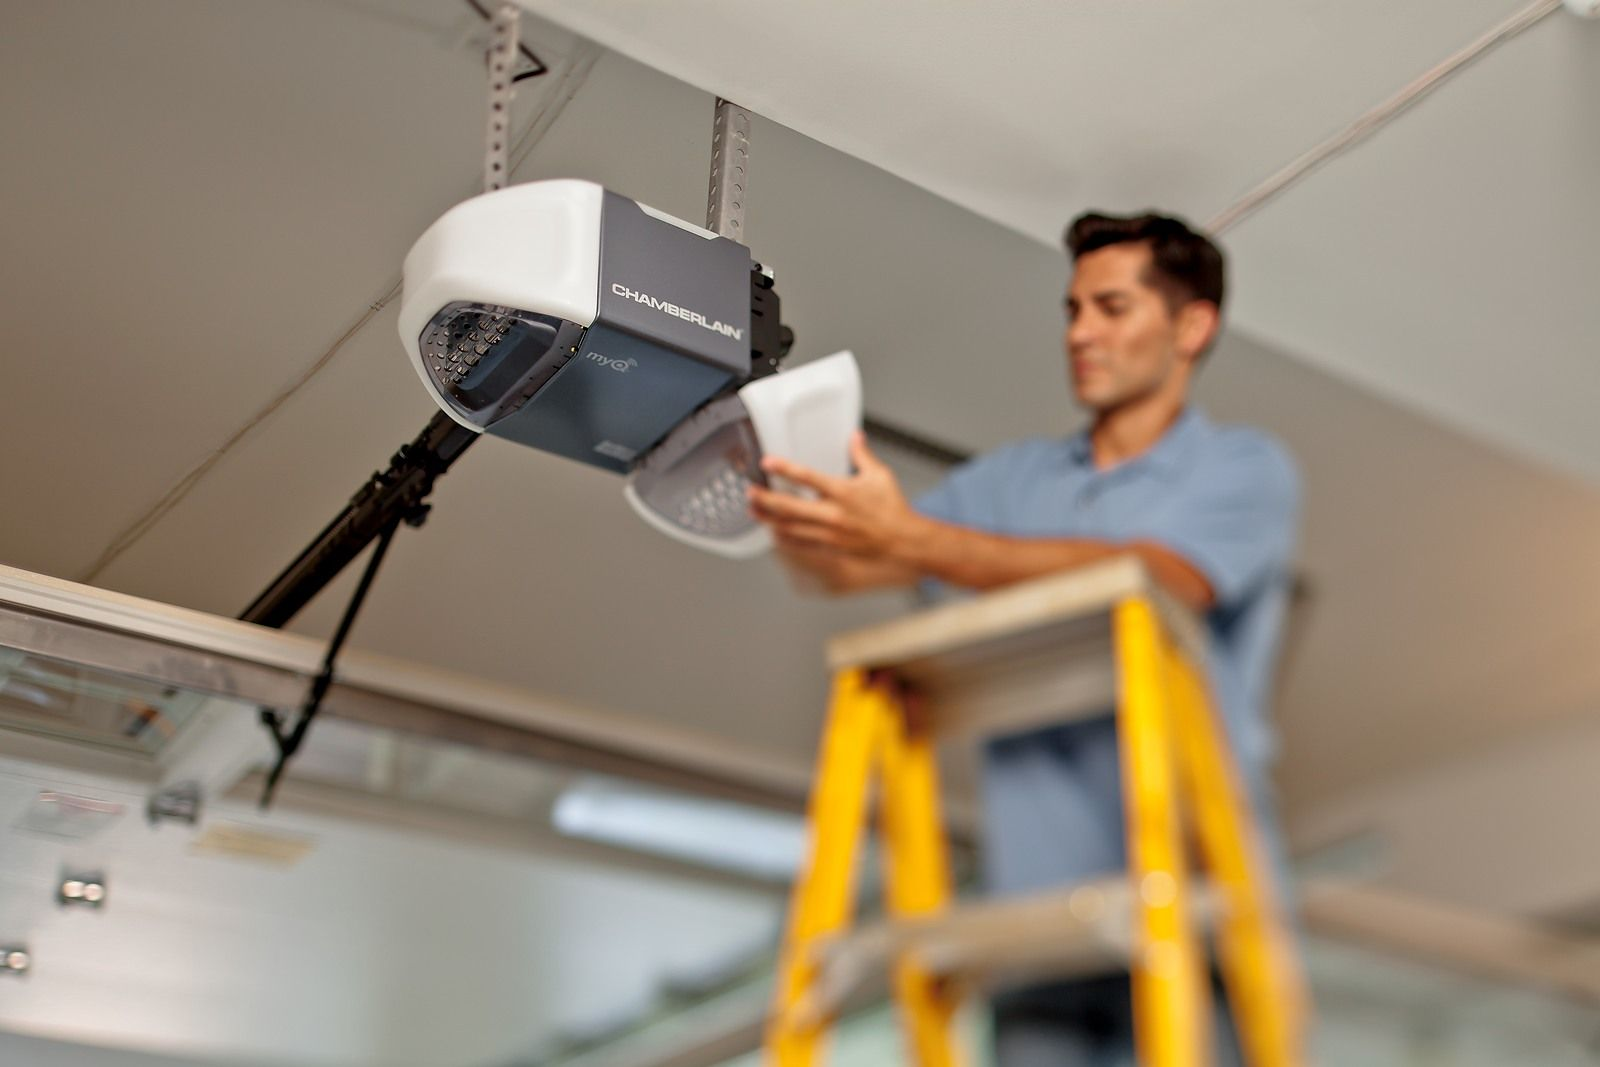
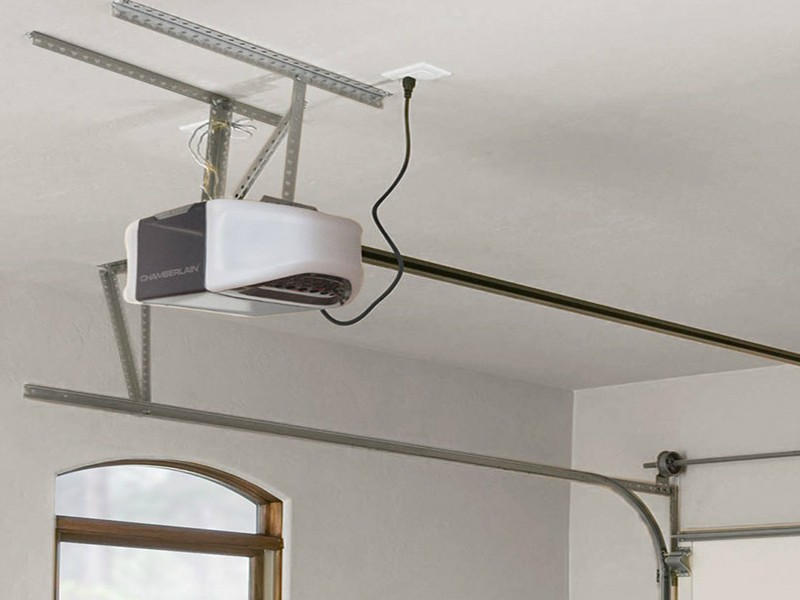
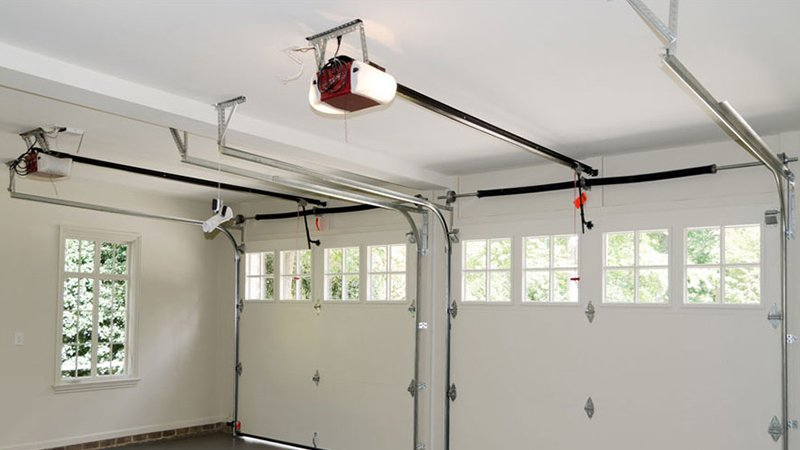
- Position the Motor Unit: Use a sturdy ladder to lift and position the motor unit in the center of the garage door. Ensure the motor is parallel to the door tracks for even movement. The unit should be at least 7 feet above the ground to avoid interference with vehicles and people.
- Attach the Rail to the Header Bracket: Secure the rail to the header bracket above the garage door with bolts and a wrench. The header bracket is a critical component that stabilizes the rail and motor unit. Ensure it is tightly fastened to the wall to support the door’s weight during operation.
Step 3: Mount the Safety Sensors
Safety sensors help avoid accidents by sensing objects in the door’s path. For them to work properly, they must be aligned correctly.
- Position the Sensors: Install the sensors on either side of the garage door, about 6 inches above the ground. They should be mounted on the track or wall, facing each other to create an invisible beam across the door’s path.
- Align and Test the Sensors: Adjust the sensors until the indicator lights on each sensor are lit steadily, indicating proper alignment. Test their functionality by closing the door and placing an object in the sensor’s path. The door should reverse when it detects the object, confirming the correct sensor operation.
Step 4: Connect the Opener to the Door
The final step involves attaching the door arm and making necessary adjustments to the opener settings.
- Attach the Arm to the Trolley: Connect the curved door arm to the trolley and the straight arm to the garage door. Secure them with the provided bolts. The connection should allow the door to open and close smoothly without binding.
- Adjust the Opener Settings: Use the manufacturer’s instructions to set the opener’s force and limit settings. The force setting controls how much power the opener uses to move the door, while the limit settings determine how far the door opens and closes. Test the door’s operation and adjust these settings as needed to ensure it opens and closes completely and safely.
Testing and Troubleshooting Your Garage Door Opener
After installation, test your garage door opener to ensure it operates correctly and safely. Identifying issues early can prevent further problems and enhance system performance.
Initial Testing
- Test the Remote Controls: Use the remote to open and close the door, ensuring smooth movement without jerking or noise. Address unresponsive controls by checking remote batteries or the motor unit’s receiver.
- Check the Safety Reversal System: Place an object under the door and attempt to close it. Adjust the sensitivity settings or realign the safety sensors if the door doesn’t reverse upon contact.
Troubleshooting Common Issues
- Door Not Opening or Closing Completely: Adjust the motor unit’s limit settings. This controls how far the door moves. Follow the manual to fine-tune the door’s range of motion.
- Sensors Not Aligned: Verify that sensors face each other and are unobstructed. Clean the lenses and check for flashing lights which indicate misalignment or dirt.
Maintenance Tips for Longevity
Regular maintenance is crucial for keeping your garage door opener running efficiently and extending its lifespan. Investing a little time in routine upkeep can prevent costly garage door repairs, ensure smooth operation, and enhance safety. Here are essential maintenance steps to follow:
Routine Checks
- Lubricate Moving Parts: Apply a silicone-based lubricant to the rail, hinges, and rollers every six months to minimize friction and reduce wear. Lubrication helps prevent grinding noises and ensures smooth movement. Avoid grease, as it attracts dust and grime, which can accumulate and cause components to stick.
- Tighten Bolts and Screws: Periodically inspect all hardware components, including brackets, fasteners, and tracks. Tighten any loose bolts and screws to prevent the door from wobbling or becoming misaligned, which can lead to operational issues and increase the risk of accidents.
- Inspect the Door Balance: A well-balanced door eases the load on the opener. To test the balance, pull the release handle to disconnect the opener and manually lift the door halfway. If it remains in position, the door is balanced properly. If it moves up or down, the springs may need professional adjustment to avoid placing undue stress on the opener and ensure safe operation.
By following these maintenance tips, you can enjoy the convenience and reliability of your garage door opener for many years. Regular checks and adjustments not only prevent problems but also improve the overall safety of your garage system.
Frequently Asked Questions (FAQs)
Can you install a garage door opener yourself?
Yes, you can install a garage door opener yourself if you possess basic handyman skills and follow the manufacturer’s instructions carefully. The process involves assembling components, mounting the opener, and connecting wiring. However, professional installation is recommended to ensure safety and correct setup, especially for heavy or complex systems requiring precise alignment and optimal adjusting.
Where should a garage door opener attach to a door?
A garage door opener should attach to the door’s reinforcement bracket, typically at the top center. This placement ensures the even distribution of force across the door’s structure and prevents potential damage from uneven stress. Always follow the manufacturer’s guidelines for exact placement and secure the connections to avoid operational issues or damage.
How do you set up a garage door opener?
To set up a garage door opener, start by assembling the rail and attaching it to the motor unit. Next, install the header bracket above the garage door and secure the rail to it. Mount the opener to the ceiling joists, connect the door arm to the trolley, and install the safety sensors on either side of the door. Finally, plug in the opener and program the remote controls following the manufacturer’s instructions for proper operation.
How do you install an automatic garage door?
To install an automatic garage door, begin by assembling the door panels and installing the tracks. Attach the hinges and rollers to ensure smooth operation. Install the springs and cables according to the manufacturer’s instructions, as they are critical for door balance and function. Mount the garage door opener, attach it to the door, and set up the safety sensors. Connect the power supply and program the opener for automated use.
How do you put an automatic garage door in manual?
To put an automatic new garage door in manual mode, locate the emergency release cord, typically a red rope hanging from the opener mechanism. Pull the cord to disengage the opener, allowing the door to be operated manually. This feature is particularly useful during power outages or maintenance tasks, enabling you to open and close the door without electrical power.
Conclusion
Installing a garage door opener is a task that can be handled with patience and careful attention to detail. By following a systematic approach, even a beginner can successfully install an opener that will provide years of reliable service.
It’s crucial to start with thorough preparation, ensuring you have all the necessary tools and components before beginning the installation process. Carefully assembling the opener, positioning the motor unit correctly, and securely mounting the safety sensors will help ensure safe and efficient operation.
Once installed, regularly maintaining the opener by lubricating moving parts, tightening hardware, and checking the door balance will keep it running smoothly. With these steps, you can enjoy the convenience and security of an automated garage door for many years.
End Note
Congratulations on taking the plunge into the world of automated convenience! Installing a garage door opener isn’t just about making life easier; it’s about transforming how you interact with your home. As you enjoy the newfound ease of opening your garage with just a button press, remember that expert support is just a click away. At Lopez Garage Door, we offer a wide array of services in Katy, TX to ensure your installation is perfect and long-lasting.
Explore our top-quality garage doors in Katy, TX, and learn more about our commitment to excellence on our About Us page. Should you need further assistance or have any questions, our friendly team is always ready to help. Feel free to contact us anytime!
Additionally, stay updated with the latest tips and trends by visiting our blogs. For inspiration and to see the quality of our work, don’t miss our gallery, showcasing some of our favorite projects. Thank you for choosing us as your trusted partner to create a more convenient and stylish home. Enjoy your new garage door opener!