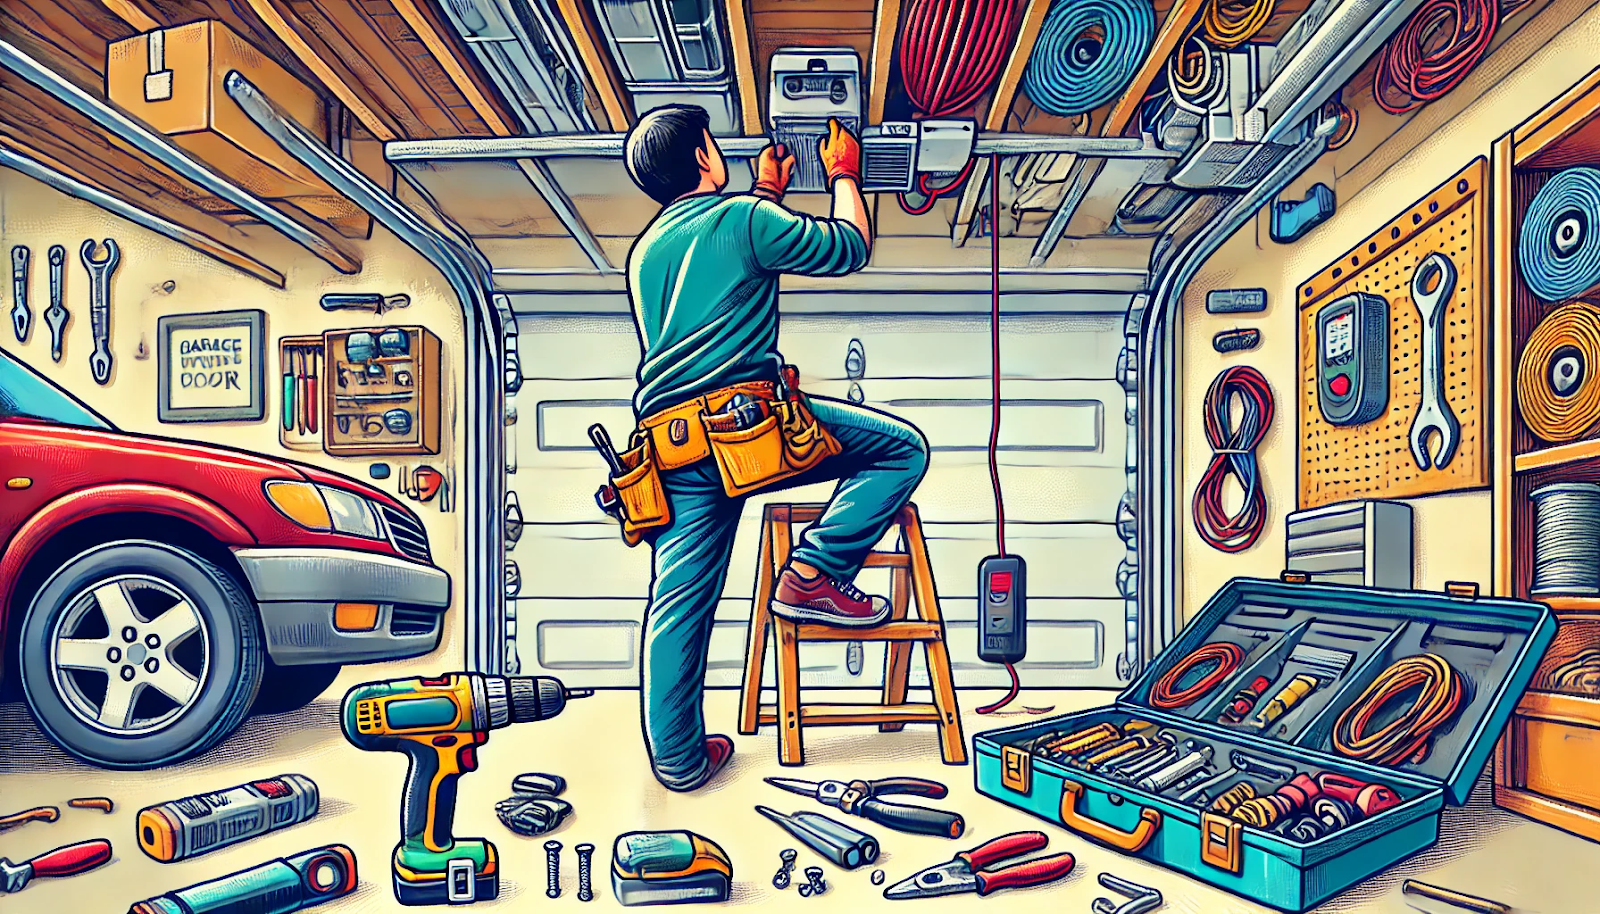
Installing a new garage door opener can significantly enhance your home’s convenience and security. This comprehensive guide will walk you through the entire process, from initial preparation to final testing. Whether you’re a seasoned DIY enthusiast or tackling this project for the first time, you’ll find these instructions transparent and manageable.
Before you begin, gather all necessary tools and materials and thoroughly read the manufacturer’s manual. This preparation will help streamline the installation and prevent any potential issues. Additionally, consider enlisting a friend’s help, as some steps may require extra hands for safety and precision.
The installation process involves mounting the opener, connecting the electrical components, and programming the remote controls. Following each step carefully will ensure your new garage door opener functions smoothly and reliably. By the end of this guide, you’ll enjoy the added convenience and security of a properly installed garage door opener.
What You Need to Know Before Installation
Before starting the installation process, it’s important to consider a few key factors. Ensuring you have the right type of opener, understanding the necessary safety precautions, gathering the appropriate tools and materials, and thoroughly reading the instructions are all steps for a successful installation.
- Choosing the Right Garage Door Opener: Understanding the different types of openers—chain drive, belt drive, screw drive, and direct drive—will help you select the best one for your needs:
Chain Drive Openers: These are durable and budget-friendly, but they can be pretty noisy. They’re ideal for detached garages where noise isn’t a concern.
Belt-drive openers: These are quieter than chain drives and use a rubber belt. They are slightly more expensive but are a good option for attached garages.
Screw Drive Openers: These require less maintenance and are faster, but they can be noisier than belt drives.
Direct Drive Openers: The quietest and most reliable, as the motor moves along the track. They tend to be more expensive but offer smooth and quiet operation.
- Safety Precautions: Safety is paramount. Use a sturdy ladder, wear safety glasses, and work with a partner if possible.
- Tools and Materials: Gathering all necessary tools and materials before you start will save you time and frustration:
- Power Drill: For drilling holes and securing screws.
- Wrenches: Various sizes may be needed to tighten bolts and nuts.
- Screwdrivers: Both flathead and Phillips screwdrivers.
- Garage Door Opener Kit: Ensure the kit includes the motor unit, rail, chain/belt, header bracket, safety sensors, and remote controls.
- Stepladder: For reaching high places safely.
- Understanding the Instructions: Read through the garage door opener’s manual thoroughly. Each model might have specific requirements and steps.
How to Install a New Garage Door Opener
Installing a new garage door opener can significantly enhance your home’s convenience and security. Whether upgrading an old system or installing a new one, following the correct steps is crucial to ensure a smooth and safe operation. This guide provides a detailed, step-by-step process to help you install your new garage door opener successfully.
Step-by-Step Installation Guide
1. Preparation
Check the Door Balance:
Make sure your garage door is balanced by disconnecting the opener and manually lifting the door halfway. If it stays put, it’s balanced. An unbalanced door can put extra strain on the opener and cause operational problems.
Install the Header Bracket:
Locate the center of your garage door and install the header bracket above it. This bracket is crucial as it supports the weight of the opener and must be securely fastened.
Attach the Rail to the Motor Unit:
Connect the rail sections to assemble it, then attach it to the motor unit according to the manufacturer’s instructions. This rail will guide the opener’s movements.
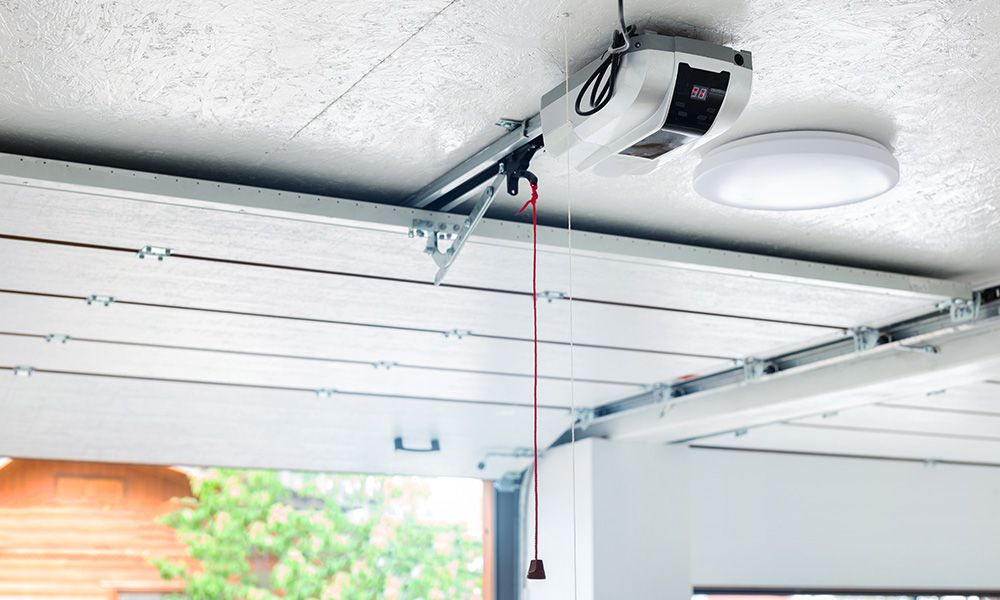
2. Installation of the Opener
Mount the Rail to the Header Bracket:
Securely connect the rail to the header bracket. This connection must be sturdy enough to support the garage door’s movement.
Install the Motor Unit:
Lift the motor unit into place, using a step ladder for support, and secure it with the appropriate fasteners. Ensure the motor unit is level and aligned with the center of the garage door.
Attach the Chain/Belt:
Connect the chain or belt to the rail and the motor unit, adjusting the tension as specified in the manual. Proper tension ensures smooth operation and prevents the chain or belt from slipping off.
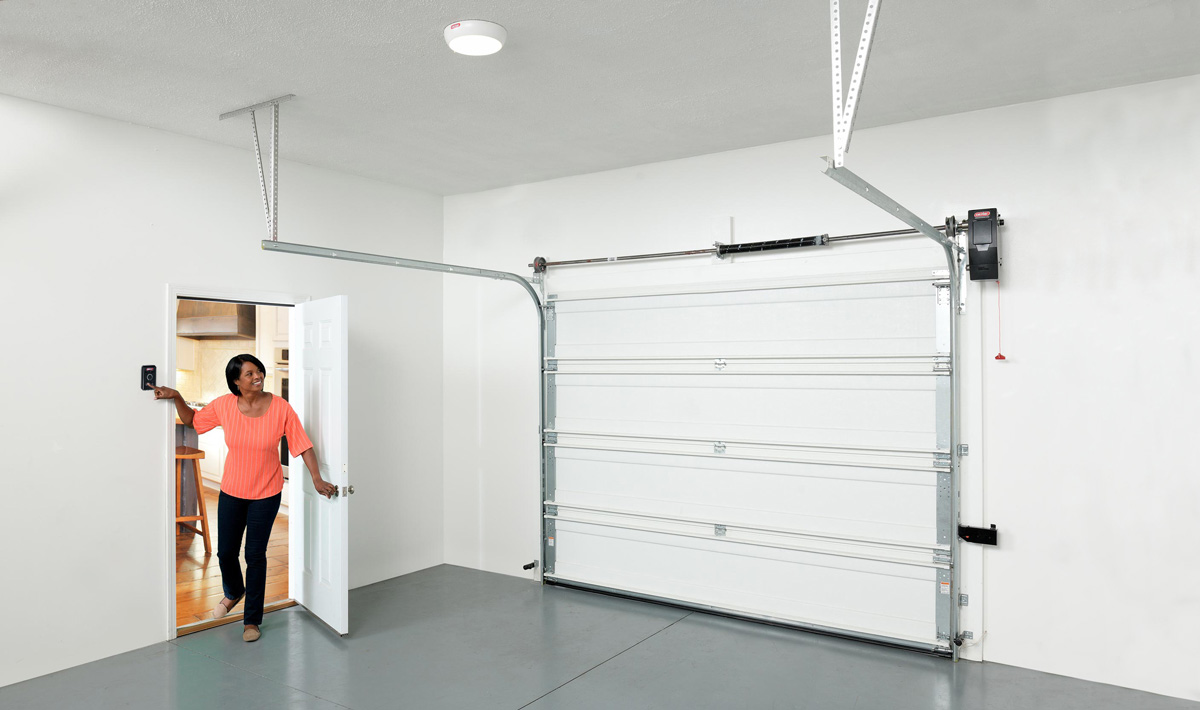
3. Wiring and Sensor Setup
Install the Safety Sensors:
Place the safety sensors on either side of the garage door, about six inches above the ground. Ensure they are aligned so that the infrared beam between them is uninterrupted. These sensors prevent the door from closing if an obstruction is detected.
Run the Wires:
Securely run the wires from the motor unit to the safety sensors and the wall-mounted switch. Use wire staples to keep the wires tidy and out of the way.
Connect the Power:
Plug in the opener, ensuring the outlet is grounded. Avoid using extension cords as they can lead to power fluctuations and potential safety hazards.
4. Final Adjustments and Testing
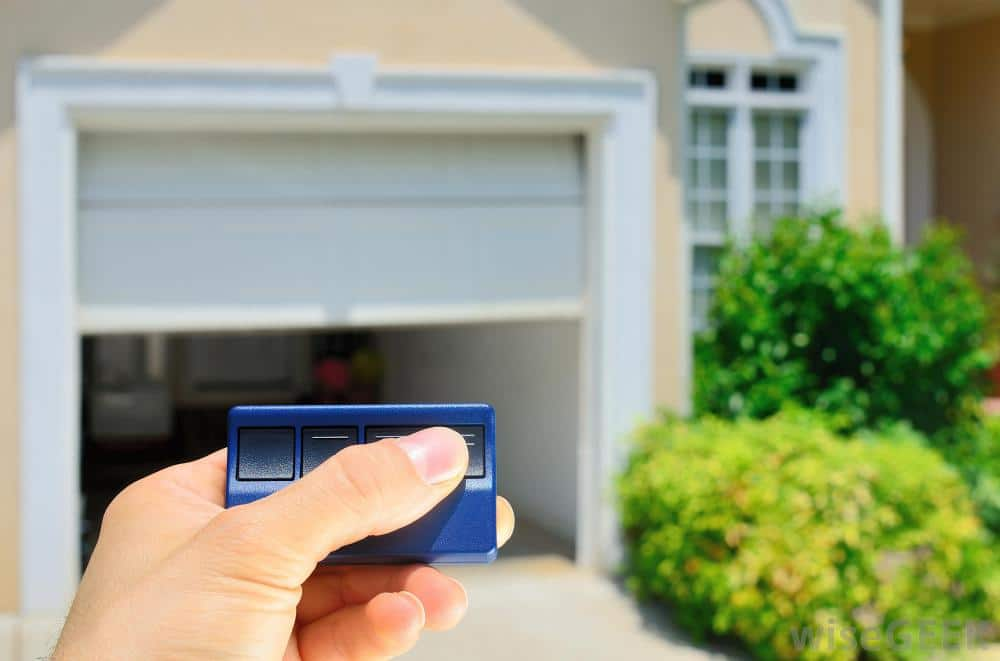
Program the Remote and Keypad:
Follow the manufacturer’s instructions to program the remote controls and any keypads. This step usually involves pressing a series of buttons on both the opener and the remote.
Test the Opener:
Test the new garage door opener to confirm it opens and closes smoothly. Adjust the travel limits and force settings as needed. The door should move without hesitation and stop if it encounters an obstruction.
Secure the Bolts and Nuts:
Ensure all bolts and nuts are tightly secured. Double-check every connection to ensure nothing is loose, which could cause operational problems or safety issues.
Troubleshooting Common Issues
Door Doesn’t Open or Close Completely:
Adjust the travel limits to ensure the door opens and closes fully without leaving gaps. Check if the tracks are clear of debris and ensure no obstructions block the door’s path.
Opener Makes Excessive Noise:
Check for loose hardware and tighten it. Lubricate the moving parts to reduce noise. If the noise persists, inspect the opener for worn-out parts needing replacement.
Remote Control Malfunctions:
Replace the remote’s batteries. Ensure the motor unit’s antenna is undamaged and properly positioned. If necessary, reprogram the remote following the manufacturer’s instructions.
Safety Sensors Not Working:
Ensure the sensors are clean, aligned, and unobstructed. Check the wiring for loose connections. If the sensors are still not functioning, consult the manual for further troubleshooting steps or consider replacing them.
Maintenance Tips
Regular Inspection:
Periodically check the opener for any signs of wear and tear. Inspect the tracks, rollers, and springs to ensure they are in good condition.
Lubrication:
Lubricate moving parts regularly, such as the chain or belt, hinges, and rollers. For best results, use a silicone-based lubricant, and avoid using grease on plastic parts.
Safety Checks:
Test the safety sensors monthly to ensure they are functioning correctly. This includes testing the auto-reverse function by placing an object in the door’s path and securing the door reverses upon contact.
Backup Power:
Consider installing a backup battery system to ensure the opener works during power outages. This can prevent being locked out of your garage during emergencies.
Upgrading Your Garage Door Opener
Smart Home Integration:
Upgrade to a smart garage door opener that integrates with home automation systems for added convenience and security. These systems allow you to control your garage door remotely via smartphone apps, providing real-time alerts and access logs.
Battery Backup Systems:
Install a battery backup system to ensure your garage door opener functions during power outages. This feature is crucial in maintaining accessibility during emergencies, ensuring you can still enter or exit your garage when the power is out.
Enhanced Security Features:
Look for openers with rolling code technology and secure access features to enhance security. Rolling codes change the access code each time the opener is used, preventing unauthorized access from code grabbers and ensuring your home remains secure.
Noise Reduction Features:
If your garage is adjacent to living spaces, consider openers with noise reduction technology. These openers use quieter motors and belts or chains to minimize noise, ensuring minimal disturbance to your home’s inhabitants during operation.
FAQs on Installing a New Garage Door Opener
Can I install a garage door opener myself?
Yes, you can install a garage door opener yourself if you have basic DIY skills and follow the manufacturer’s instructions carefully. Ensure you have the necessary tools, read the instructions thoroughly, and follow all safety precautions. If you need help or feel unsure, consider hiring a professional to ensure a safe and proper installation.
Can I just replace the garage door opener?
Yes, you can replace just the garage door opener without replacing the entire garage door. Ensure the new opener is compatible with your existing garage door system. Follow the manufacturer’s installation guidelines for the new opener and disconnect the old unit carefully to avoid damage or injury.
How do I prepare my garage door opener for installation?
To prepare for installation, clear the area around your garage door and ensure it operates smoothly. Gather necessary tools, such as a drill, ladder, and wrenches. Review the instruction manual for your new opener, and ensure all parts are included. Disconnect the old opener and follow safety guidelines during the preparation process.
How do you reprogram a new garage door opener?
To reprogram a new garage door opener, locate the “Learn” or “Program” button on the opener unit. Press this button, then within 30 seconds, press the button on the remote you wish to program. The opener light will blink to confirm successful programming. Refer to your opener’s manual for specific instructions as steps may vary by model.
How long does it take to remove and install a new garage door opener?
Removing and installing a new garage door opener typically ranges from 4 to 6 hours. This includes dismantling the old opener, assembling the new unit, mounting it, and programming the remote controls. Experience, system complexity, and any unforeseen issues can affect the project’s duration.
Conclusion
Putting in a new garage door opener can greatly enhance the convenience and security of your home. You can ensure a successful installation process by carefully following this comprehensive guide. Each step is crucial for a smooth and reliable operation, from preparation and installation to wiring and final adjustments. Regular maintenance and upgrades, such as integrating smart home features or adding battery backup systems, can further enhance the functionality of your garage door repair and opener. With the right tools, attention to detail, and adherence to safety precautions, you’ll enjoy the benefits of a properly installed garage door opener for years to come.
End Note
Thank you for reading our detailed guide on installing a new garage door opener. I hope you found it both informative and useful. If you’re looking for professional assistance, check out Lopez Garage Door. We offer various quality services tailored to meet your needs in Katy, TX. Visit our homepage to learn more about our offerings.
Explore our quality services to see how we can help you maintain and enhance your garage door system. If you’re in the market for a new garage door, check out our selection of garage doors available in Katy, TX.
Want to know more about the team behind the exceptional services? Read about us here. If you have any questions or need further assistance, feel free to contact us.
For more tips, guides, and industry news, don’t forget to visit our blog. And if you’re curious about our past work, take a look at our gallery for inspiration. At Lopez Garage Door, we’re dedicated to providing top-notch services and ensuring your garage door needs are met with professionalism and expertise.